The Ultimate Guide: Water Damage & Your Phone (What to Do in the First 5 Minutes)
It happens in a heartbeat. A slip into the sink. A plunge in a puddle. A spill from a glass. One moment your phone is in your hand, the next it’s submerged. Your heart sinks right along with it.
Stop. Take a deep breath. What you do in the next 5 minutes is critical.
Panic is your phone’s worst enemy right now, but action is its best friend. This guide will walk you through the exact, step-by-step process to give your device the best possible chance of survival. Forget the myths you’ve heard online; we’re focusing on what actually works.
Step-by-Step: Your 5-Minute Emergency Action Plan
1. RETRIEVE IT. IMMEDIATELY.
Every second counts. The longer your phone is submerged, the more water can seep into its delicate internal components.
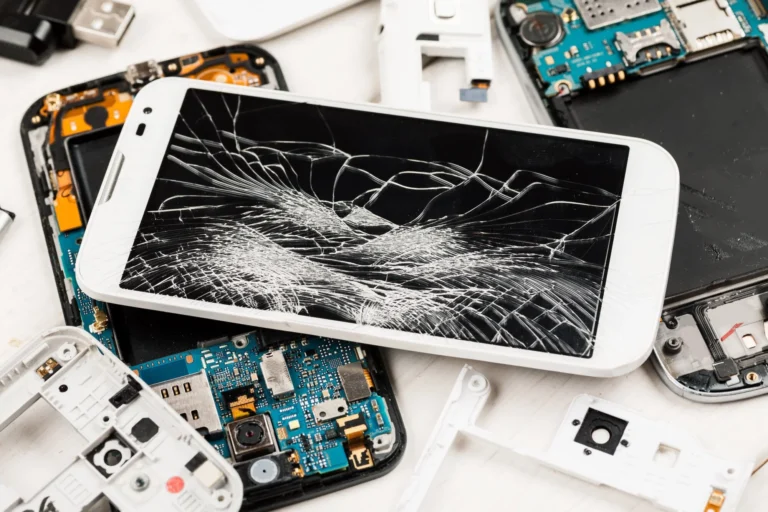
2. POWER IT OFF. DO NOT CHECK IF IT WORKS!
This is the most important step. If your phone is still on, power it down immediately. Do not be tempted to press buttons, check the screen, or see if it charges. Electricity and water create short circuits, which can permanently destroy the logic board. Turning it off cuts the power and prevents a catastrophic short.
3. Remove All Accessories
Take off the case, SIM card tray, and any connected cables or headphones. This opens up more areas for water to escape and allows you to dry the ports.
4. Dry the Exterior The RIGHT Way
Gently wipe down the entire phone with a soft, absorbent, lint-free cloth (a microfiber cloth is perfect). Pay close attention to ports, speakers, and the SIM tray slot.
-
DO NOT USE A HAIRDRYER! The concentrated heat can warp internal components and force moisture deeper into the device.
-
DO NOT USE AN OVEN OR MICROWAVE! This will absolutely destroy your phone.
5. Gently Shake Out the Water
Hold the phone firmly with the charging port facing down and give it a few gentle flicks of the wrist. This can help dislodge water droplets from the ports.
What to Do Next: The “Golden Hour”
The first 5 minutes are about emergency response. The next hour is about damage control.
-
Use Silica Gel Packets: If you have them, those little “Do Not Eat” packets that come with new shoes or electronics are a miracle worker. They are designed to absorb moisture. Place your phone and a handful of these packets in a sealed plastic bag for at least 48 hours.
-
Avoid Common Desiccants: Do not use rice or cat litter. Despite the popular myth, rice is ineffective. It produces dust that can get inside your phone and actually draws moisture out far too slowly to make a difference.
The Myths We Need to Debunk (Once and For All!)
Let’s clear the air on some dangerous advice:
-
Myth 1: “Put it in a bag of rice.” As mentioned, rice is not a desiccant. It does not pull moisture out of your phone effectively. You’re more likely to get starch dust in your ports than a working phone.
-
Myth 2: “Use a hairdryer to blow it dry.” Heat is the enemy. It can damage sensitive components, melt adhesives, and even force moisture deeper into the device.
-
Myth 3: “Leave it in the sun to dry.” Sunlight provides inconsistent and often excessive heat, which can harm your battery and screen.
When to Seek Professional Help (Hint: Always!)
Even if your phone seems to dry out and turns on a day later, the danger isn’t over. Water leaves behind minerals and impurities that cause slow, invisible corrosion. This can lead to:
-
“Mystery” issues weeks or months later.
-
Charging port failure.
-
Battery drain and swelling.
-
A completely dead device when the corrosion finally causes a critical short.
This is where our professional water damage repair service comes in.
Our Professional Repair Process: Saving Your Phone for the Long Term
When you bring your water-damaged device to us, we don’t just dry it off. We perform a comprehensive repair process designed to save your phone and prevent future issues.
-
Diagnostic Assessment: We open the device and use specialized tools to inspect the interior for corrosion and water exposure indicators.
-
Disassembly & Cleaning: We carefully disassemble the phone and use professional-grade, electronics-safe cleaning solutions to meticulously remove all corrosive residue from the logic board and components.
-
Ultrasonic Cleaning: For severe corrosion, we may use an ultrasonic cleaner, which uses high-frequency sound waves to blast away contaminants that the eye can’t see.
-
Component Repair/Replacement: We diagnose and replace any individual components that have been damaged beyond repair.
-
Reassembly & Testing: We reassemble your device and run a full suite of tests to ensure everything is functioning perfectly.
Don’t let a moment of panic lead to a permanent loss. Time is of the essence. If your phone has taken a swim, follow these steps and then bring it to the experts at Jules Computers immediately.
Contact Us or Book a Repair Appointment Online today. We’re here to get you back up and running!